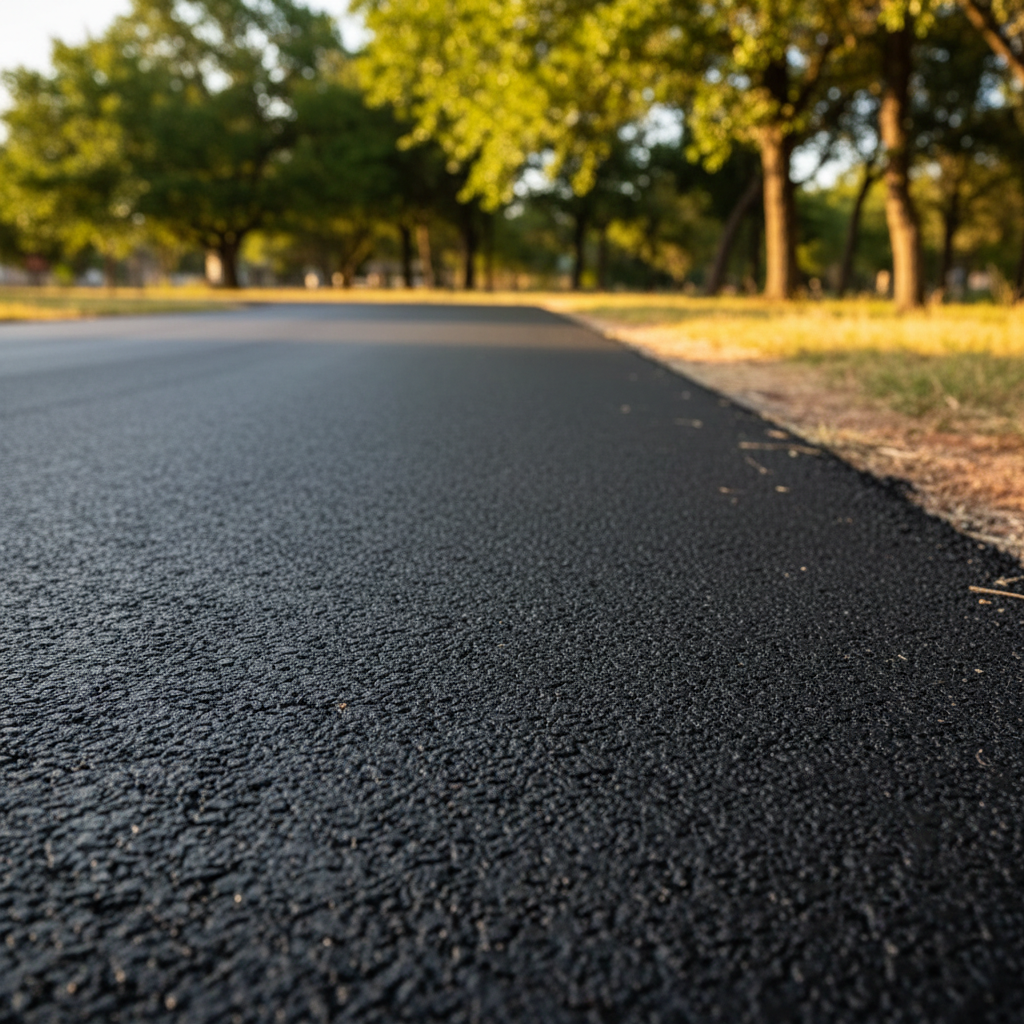
So, you’re looking at your driveway and thinking it’s time for some fresh asphalt, huh? Or maybe you’re putting in a new path around the side of the house. That’s a smart move, really. A well-paved surface doesn't just look good; it adds value and makes your property safer. But before you jump in, let's talk about what goes into a residential asphalt paving project here in Irving.
Before the Shovels Hit the Dirt: Planning Your Project
This is where you, the homeowner, do most of your heavy lifting, even if you’re hiring us or another pro. You’ve got to figure out what you want and what you need, after all.
- Define Your Scope: Are we talking about a whole new driveway, an extension, or just a repair of a few bad spots? Be clear about the area. Measure it out.
- Budget It Out: Asphalt isn't free, and neither is the labor. Get a realistic idea of what you can spend. Don’t just think about the paving itself, either; consider drainage, edging, and any landscaping that might get disturbed.
- Check Local Regulations: This is a big one. Some areas in Irving, especially older neighborhoods like those around the Heritage District, might have specific rules about impervious surfaces or setbacks from property lines. You might even need a permit for a new installation or a significant expansion. A good contractor will help you with this, but it’s always good to be aware yourself.
- Get Multiple Quotes (from reputable folks!): Don’t just call the first name you see. Talk to a few different paving companies. Make sure they’re licensed and insured. Ask for references. At All Star Paving, we’re always happy to show you our work and talk through your options.
- Understand the Base: This is crucial for longevity. Asphalt is only as good as what’s underneath it. If your soil is soft or has poor drainage, you’ll need a solid, compacted aggregate base. Here in Irving, our clay soils can be tricky – they expand and contract with moisture, so a well-prepared base is absolutely non-negotiable.
What can you DIY here? You can definitely measure, research regulations, and get quotes. You can even clear out some debris or old gravel if you’re feeling ambitious. But when it comes to assessing the soil, planning drainage, and designing the actual pavement structure, that’s where a pro really earns their keep.
During the Project: What to Expect
Once you’ve picked your contractor and the project kicks off, things move pretty fast. Here’s a quick rundown of what’s happening:
- Excavation and Grading: First, any old material comes out, and the area gets leveled. This is critical for proper water runoff. You don’t want puddles sitting on your new driveway, do you?
- Base Layer Installation: Crushed rock or gravel goes down, gets spread evenly, and then compacted like crazy. This is the foundation. It needs to be dense and stable.
- Asphalt Application: Hot asphalt mix is delivered, spread with specialized equipment, and then compacted with heavy rollers. This is where the magic happens. You’ll see steam, smell that fresh asphalt smell, and watch your new surface take shape.
- Compaction: This is repeated several times to achieve the right density and smoothness. It’s what makes the asphalt strong and durable.
During this phase, your main job is to stay out of the way, ask questions if you have them, and make sure the crew has access to what they need (like water or a restroom, if you’re feeling generous). Don’t try to